
When you watch screencasts from time to time you’ll see that some software adds growing dots to the clicks the person explaining does to make them more obvious. Using CSS transitions this can be done very simply in JavaScript, too.
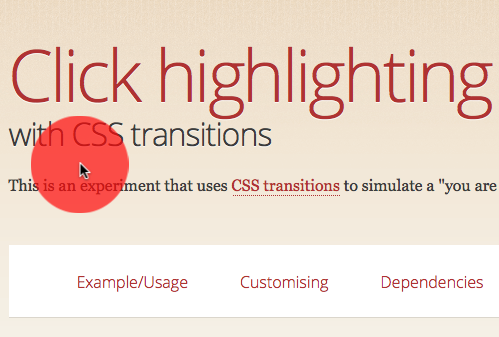
Check out the following demo on JSFiddle and you see what we mean. When you click on the document a dot grows where you clicked and it vanishes again. If you keep the mouse pressed the dot stays and you can move it around.
Moving the dot
The code is incredibly simple. We generate a DIV element and move it with the mouse. For this, we need JavaScript. Check the comments to see what is going on:
(function(){

  // create a DIV element, give it an ID and add it
  // to the body
  var plot = document.createElement('div'),
      pressed = false;
  plot.id = 'clickhighlightplot';
  document.body.appendChild(plot);

  // define offset as half the width of the DIV
  // (this is needed to put the mouse cursor in
  // its centre)
  var offset = plot.offsetWidth / 2;

  // when the mouse is moved and the mouse button is pressed,
  // move the DIV to the current position of the mouse cursor
  document.addEventListener('mousemove', function(ev) {
    if (pressed) { moveplot(ev.pageX, ev.pageY); }
  }, false);

  // when the mouse button is pressed, add a class called
  // 'down' to the body of the element and define pressed
  // as true. Then move the DIV to the current mouse
  // position.
  document.addEventListener('mousedown', function(ev) {
    document.body.classList.add('down');
    pressed = true;
    moveplot(ev.pageX, ev.pageY);
  }, false);

  // when the mouse is released, remove the 'down' class
  // from the body and set pressed to false
  document.addEventListener('mouseup', function(ev) {
    document.body.classList.remove('down');
    pressed = false;
  },  false);

  // move the DIV to x and y with the correct offset
  function moveplot(x, y) {
    plot.style.left = x - offset + 'px';
    plot.style.top = y - offset + 'px';
  }
})();
This takes care of creating and moving the DIV and also gives us classes on the body element to play with.
Growing the dot
The growing of the dot uses CSS transitions. We change the scale of the dot from 0,0 to 1,1 in a certain amount of time. Notice that we need to scale down rather than up as Webkit zooms scaled elements instead of leaving crisp outlines like Firefox does (the first iteration of this script scaled a 10×10 pixel dot upwards and looked horrible).
#clickhighlightplot {
  cursor: pointer;
  pointer-events: none;
  background: rgba(255, 255, 10, 0.7);
  width:100px;
  height: 100px;
  position: absolute;
  border-radius: 100px;
  -webkit-transition: -webkit-transform 1s;
     -moz-transition: -moz-transform 1s;
      -ms-transition: -ms-transform 1s;
       -o-transition: -o-transform 1s;
          transition: transform 1s;
   -webkit-transform: scale(0, 0);
      -moz-transform: scale(0, 0);
       -ms-transform: scale(0, 0);
        -o-transform: scale(0, 0);
           transform: scale(0, 0);
}
.down #clickhighlightplot {
  -webkit-transform: scale(1, 1);
     -moz-transform: scale(1, 1);
      -ms-transform: scale(1, 1);
       -o-transform: scale(1, 1);
          transform: scale(1, 1);
}
Fixing the “covered clickable elements” issue
The main annoyance with the way the script works now is that you cover elements with the growing dot making them effectively unclickable. That might not be what you want which is why we need to make sure the dot covers them but still allows for clicks to go through. The good news is that there is a thing called pointer events for that. This is supported in Firefox and Webkit but sadly enough not in IE and Opera.
Moving from JS and CSS to pure JS (but using CSS)
Now, whilst it is cool to be able to maintain all the look and feel in CSS, the issue is that we need to repeat all the vendor prefixes and we run into issues that browsers might not support what we want to do. That’s why sometimes it makes more sense to move the whole functionality into JavaScript as we have the chance to test support there and write less code.
Clickhighlight.js does all that. Instead of keeping the maintenance in the CSS (and requiring you to add all the vendor prefixes) you can now have the effect by simply adding the script and calling its init() method:
Elements with the class “nohighlight” will not get the effect. You can change the look by passing an initialisation object:
clickhighlight.init({
  size:        '300px', // the maximum size of the dot
  duration:    '2s',    // duration of the effect (seconds)
  colour:      'green', // the dot colour - RGBA = transparency
  nohighlight: 'notme'  // class of elements not highlighted
});
You can see it in action in this video on YouTube:
The next steps could be to add touch support and to turn this into a bookmarklet so you can use it on any page. Any other ideas?
About Chris Heilmann
Evangelist for HTML5 and open web. Let's fix this!
7 comments