
In part one of this two-part tutorial, we created an A-Frame game using 3D models from Sketchfab and a physics engine. Whack-an-Imp works and it has nice landscaping but it still doesn’t feel very immersive.
The lighting is all wrong. The sky is pure white and the ground is pure red. The trees don’t have shadows and there is no firelight coming from the cauldron. The moon is out so it must be night time, but we don’t see reflections of moonlight anywhere. A-Frame has given us default lighting but it no longer meets our needs. Let’s add our own lighting.
Lighting
Change the color of the ground to something more ground-like, a dark green.
<a-plane color="#52430e" ...
Add a dark twilight sky:
    <!-- background sky -->
    <a-sky color="#270d2c"></a-sky>
I did try adding fog for extra mood, but it simply blocked the sky, so I took it out.
For the moonlight we will use a directional light. This means the light comes from a particular direction but is positioned infinitely far away so that the light hits all surfaces equally. For something like the moon, this is what we want.
    <a-entity light="type: directional; color: #ffffff; intensity: 0.5;"
              position="31 80 -50"></a-entity>
Here’s what it looks like now:
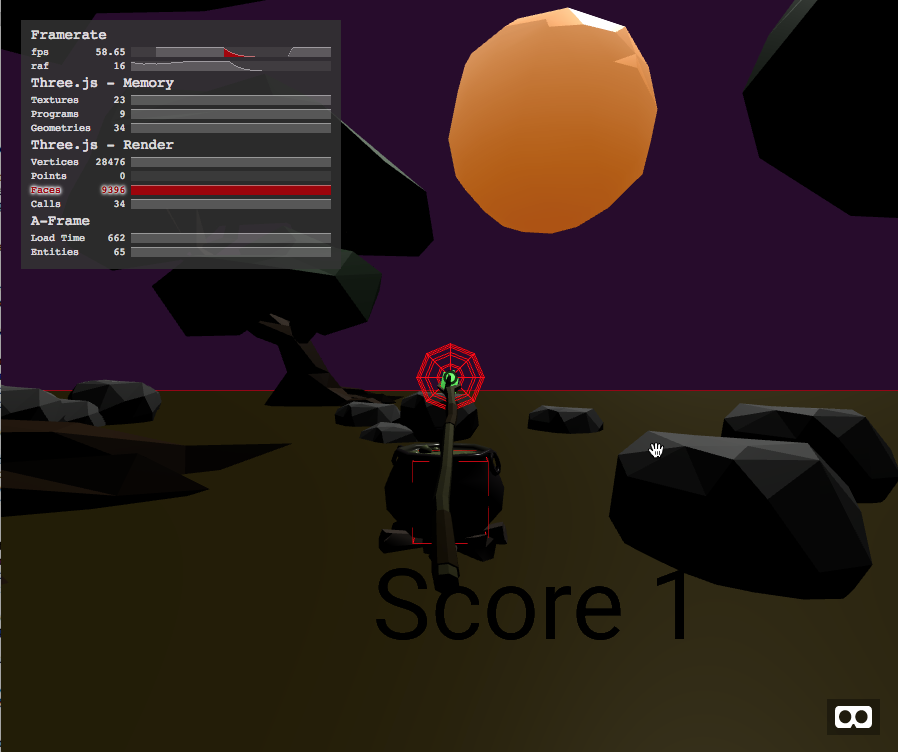
Hmm… We are getting there but it’s still not quite right. The moonlight certainly reflects nicely off the tops of the rocks, but the bottoms of the rocks and trees are too dark to see. While this might be a realistic scene it doesn’t feel like a place that I would want to visit.
A common movie trick for shooting a night scene is to have a colored light shining up to illuminate the undersides of objects without making the scene so bright that the illusion of nighttime is ruined. We can do this with a hemisphere light.
A hemisphere light gives us one color above and one below. I used white for the upper and a sort of purplish dark blue for the lower, at an intensity of 0.4. Feel free to experiment with different settings.
<!-- hemisphere light going from white to dark blue -->
<a-entity light="type: hemisphere; color: white; groundColor: #5424ff; intensity: 0.4"
    ></a-entity>
Now just one more thing. The fire under the cauldron should emit a warm red glow and the nearby rock should reflect this glow.
<a-entity light="type: point; intensity: 1.6; distance: 5; decay: 2; color: red"
    position="0.275 -0.32 -3.77"></a-entity>
This is a red-colored point light, meaning it has a specific position and will decay with distance. I set the decay to 2 and the intensity to 1.6. It is positioned just slightly offset from the bottom of the cauldron so that we get a nice red reflection. I also set the distance to 5 so that only the very closest rocks will get any of the red light.
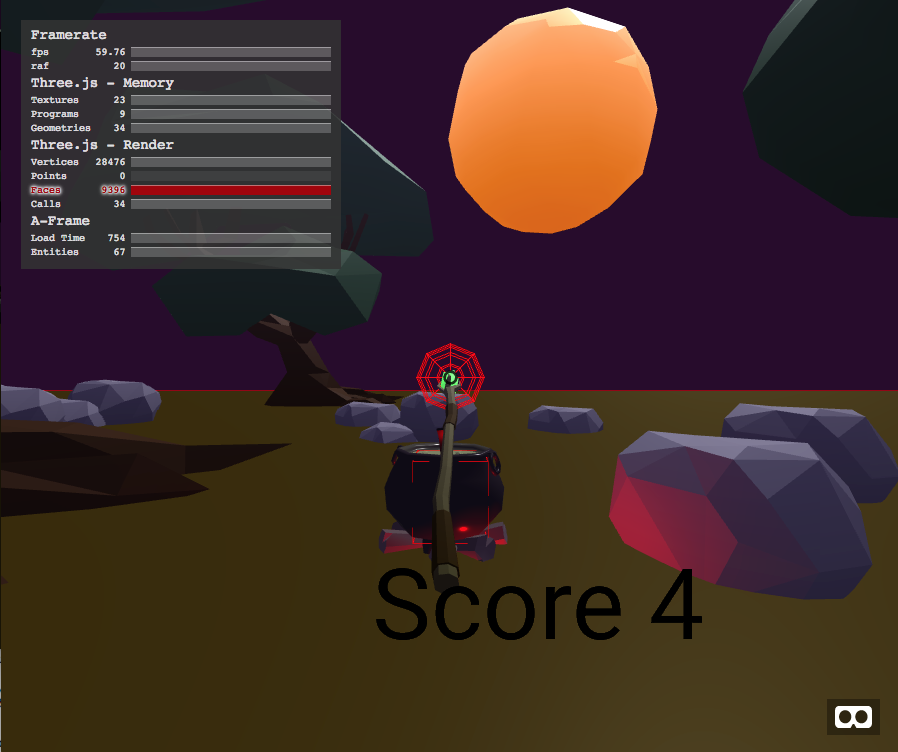
Here’s what it looks like now. I think we finally have a cool-looking scene. It feels like a place where stuff is happening, with secrets to explore.
Shadows
There’s just one more piece of lighting work to do. We need some shadows. Shadows are expensive computationally speaking, so we only want to turn them on for objects whose shadows we actually care about.
First we must enable casting shadows from the light that will create them, the moonlight. Simply add castShadow:true to the light attribute.
<a-entity light="type: directional; color: #ffc18f; intensity: 0.5; castShadow: true;"
       position="31 80 -50"></a-entity>
Now add shadow="receive:true" to the ground. All of the objects now automatically cast shadows onto the ground.
    <!-- the ground --->
    <a-plane color="#52430e"
             static-body
             rotation="-90 0 0" width="100"
             height="100"  shadow="receive:true"></a-plane>
It’s starting to feel like a real place.
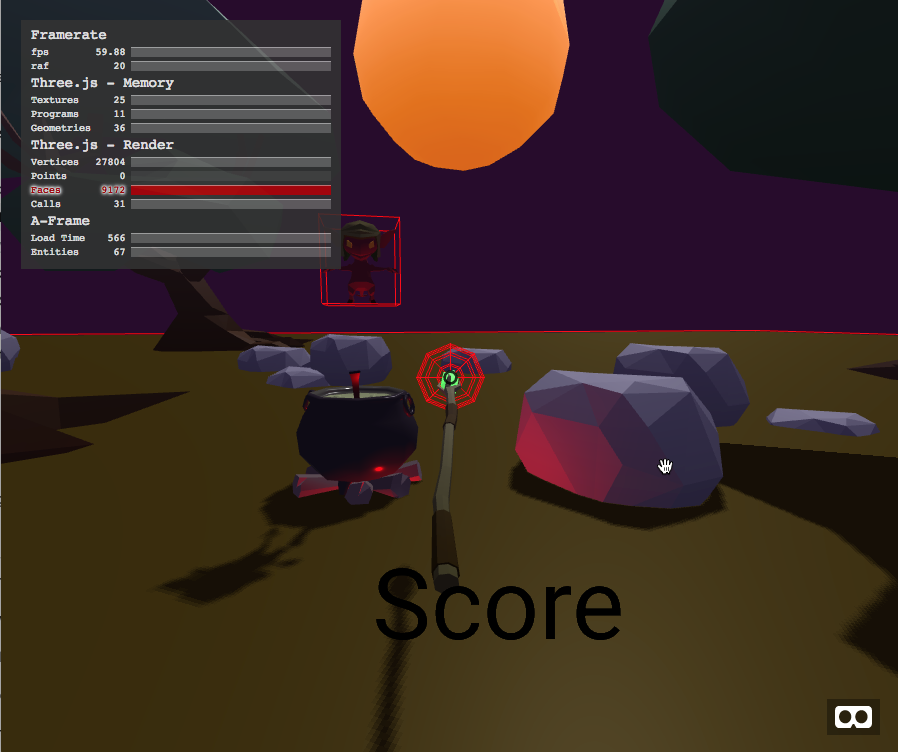
In an effort to save cycles, the shadows will only be cast in an area called the shadow frustum. To see this area set shadowCameraVisible to true on the light.
Audio
Just a few more things to polish up our game. Some audio. Lived-in worlds aren’t silent. A summer night should have crickets or a breeze, the bubbling of the cauldron, and of course when we hit the imp it probably should complain, loudly. To liven things up I found a few useful sounds at freesound.org.
First up: the nighttime sounds of crickets and other creatures. I found a clip by freesound user sagetyrtle called October Night 2. Since this clip contains background sounds I don’t want them to be positional. The player should be able to hear them from anywhere, and it should loop over and over. To make this happen I put the sound on the scene itself using the sound attribute.
<a-scene
...
        sound="src: url(./audio/octobernight2.mp3); loop:true; autoplay:true; volume:0.5;"
>
Notice that I set the volume to 50% so it won’t drown out the other sound effects.
Next we need a sound for the bubbles in the cauldron. I’m using this sound called SFX Boiling Water by Euphrosyyn.
<!-- cauldron -->
<a-entity  gltf-model="#cauldron" ...
   sound="src: url(./audio/boilingwater-loop.mp3); autoplay: true; loop:true;"
></a-entity>
Again I have set the audio to loop, but because it’s attached to the cauldron’s entity instead of the scene, the sound will appear to come from the cauldron itself. Positional audio really enhances the immersiveness of virtual scenes. Granted, this boiling water effect is way overkill for the cauldron. In real life the cauldron wouldn’t bubble as quickly or loudly, but we want immersion, not realism.
Finally we need a sound on the imp. I chose this oops sound by metekavruk.
<a-entity id='imp-model' ...
    sound="src: url(./audio/gah.mp3); autoplay: false; loop: false;"
></a-entity>
Both autoplay and loop are set to false because we only want the sound to play when the imp is hit with the weapon. Go down to the collide event handler and add this line to play the sound on every collision.
$("#imp-model").components.sound.playSound();
The original files from freesound.org are in wav format, which is completely uncompressed and large. If you plan to edit the sound files then this is what you want, but for distribution on the web we want something far smaller. Be sure to convert them to MP3s first, which gives a 90% file size savings. On Mac and Linux you can use the ffmpeg tool to convert them like this:
ffmpeg -i boilingwater-loop.wav boilingwater-loop.mp3
More Polish
Creating the basic code is the first 90% of building a game. Polishing the experience is the second 90%. After I first built Whack-an-Imp I realized it would get boring really fast. The only thing the player can do is wait until the imp jumps out and hit it. It would be more interesting if every now and then something popped out that the player shouldn’t hit. Let’s add a dragon’s egg.
Inside the ball entity we have a model for the imp. Next to it add another entity called egg-model, this time using a slightly distorted sphere.
    <!-- the ball contains two models that we swap -->
    <a-entity id='ball'
              position="0 0.1 -4"
              rotation="0 0 0"
              dynamic-body="shape:sphere; sphereRadius: 0.3; mass:4"
    >
        <a-entity id='imp-model' gltf-model="#imp" position="0 -0.4 0"
                  sound="src: url(./audio/gah.mp3); autoplay: false; loop: false;"
        ></a-entity>
        <a-sphere id='egg-model' radius="0.25" segments-height="8" segments-width="8"
                  scale="1 0.6 0.8"
                  material="color: purple; flatShading:true; emissive:red; emissiveIntensity:0.2"
                  sound="src: url(./audio/cowbell.mp3); autoplay: false; loop: false;"
        ></a-sphere>

    </a-entity>
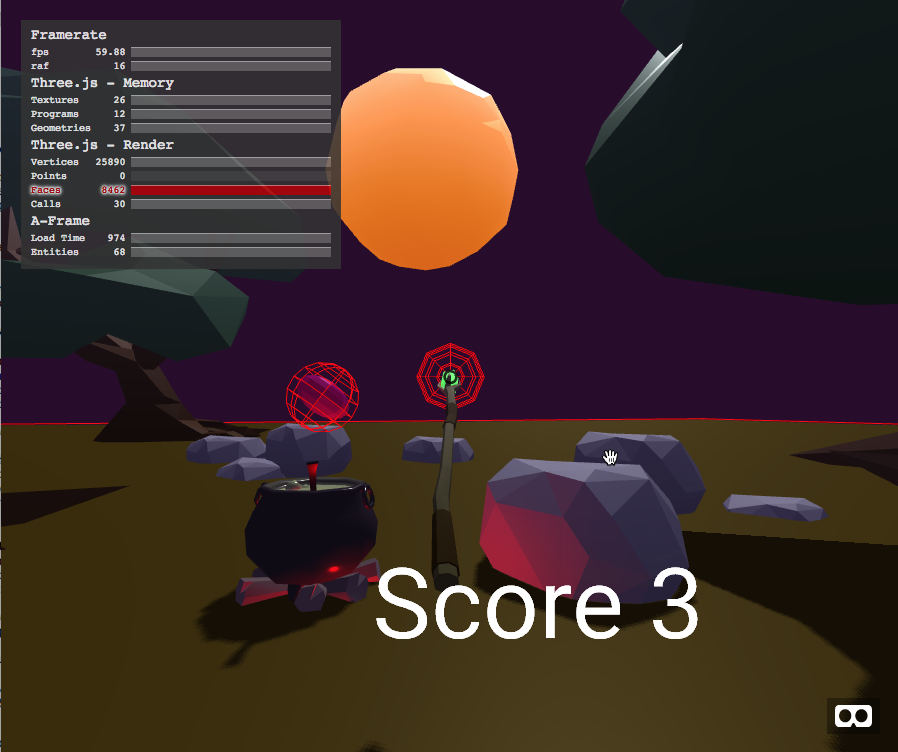
To make the sphere look more magical I gave it a purple colored material with flat shading, but also set the emissive color to red. Normally a material only reflects light that comes from a light source, but an emissive color lets the material produce it’s own light, even in the dark. In effect, it glows. I also added a cowbell sound from pj1s for when the player hits the egg.
Note in the code above that I moved the dynamic-body from the imp to the surrounding ball entity. This is because we want the same physics behavior regardless of which object is hit. However, the imp model is slightly offset and will stick outside of the sphere bounds, so I adjusted the position by -0.4 in the y direction.
Now we need to update the resetBall event handler with a boolean indicating if we should show the imp or the dragon’s egg.
    let showImp = true
    const resetBall = () => {
        clearTimeout(resetId)
        $("#ball").body.position.set(0, 0.6,-4)
        $("#ball").body.velocity.set(0, 5,0)
        $("#ball").body.angularVelocity.set(0, 0,0)
        showImp = (Math.floor(Math.random()*4)!==0)
        $("#imp-model").setAttribute('visible',showImp);
        $("#egg-model").setAttribute('visible',!showImp);
        hit = false
        resetId = setTimeout(resetBall,6000)
    }
We also need to make the collide-handler play the correct sound and decrement the score by 10 if you accidentally hit the egg.
    on($("#weapon"),'collide',(e)=>{
        const ball = $("#ball")
        if(e.detail.body.id === ball.body.id && !hit) {
            hit = true
            if(showImp) {
                $("#imp-model").components.sound.playSound();
                score = score + 1
            } else {
                $("#egg-model").components.sound.playSound();
                score = score - 10
            }
            $("#score").setAttribute('text','value','Score '+score)
            clearTimeout(resetId)
            resetId = setTimeout(resetBall,2000)
        }
    })
More Details
Let’s fix a few final details before we go: Display the score in white so we can see it in the dark, turn off physics debugging in the a-scene, and remove the cursor inside the camera. We don’t need the cursor anymore because we have the staff to indicate where the camera is pointed.
Whack-an-Imp is complete! It’s time to test it out. We already know it works on the desktop. Here it is on my phone.
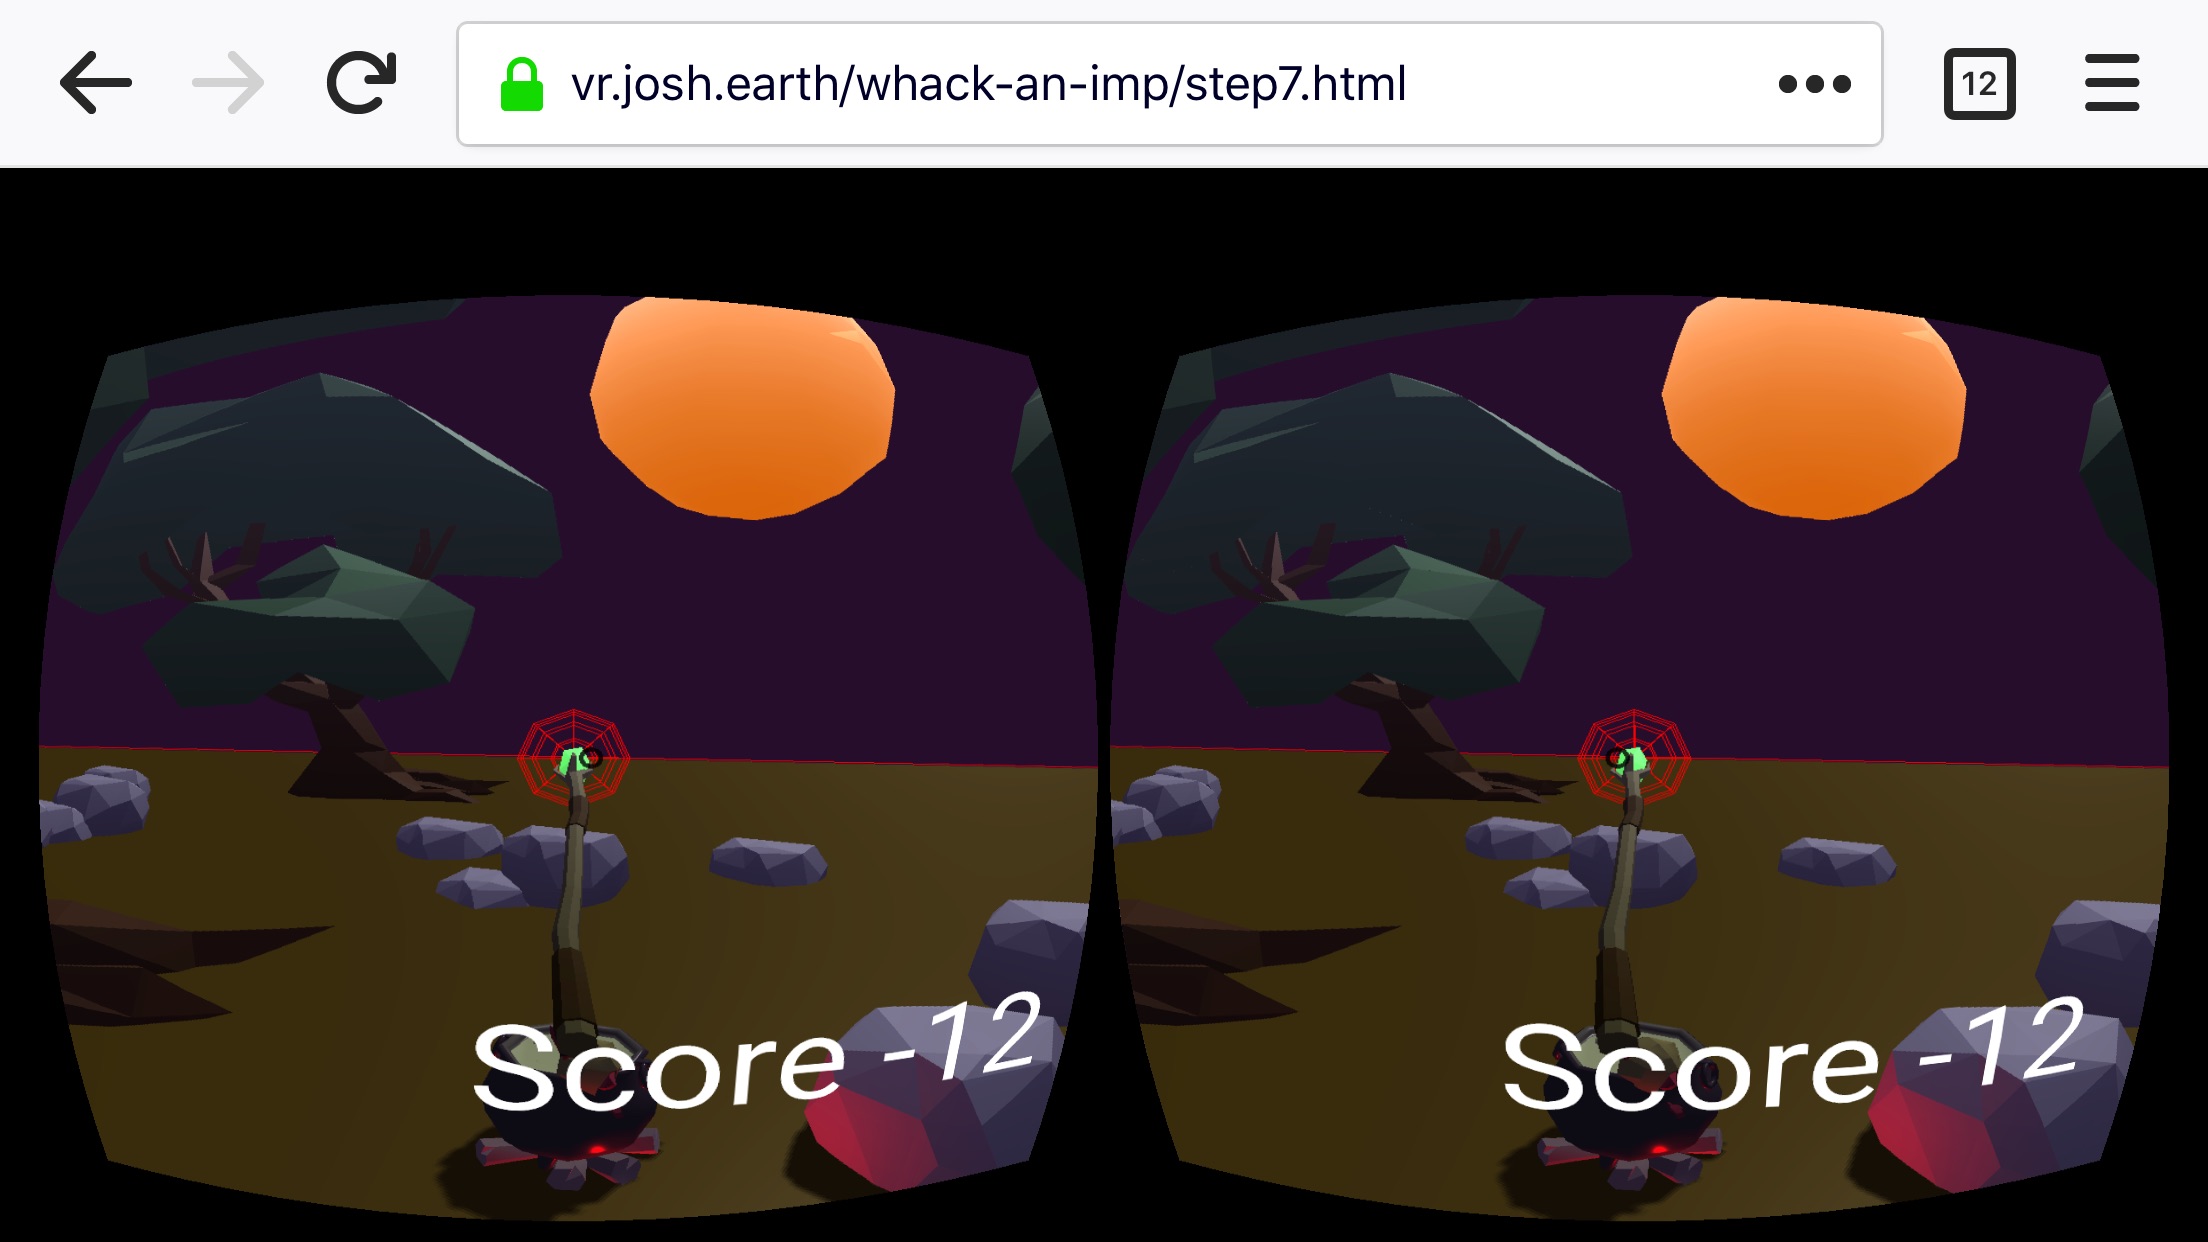
Full VR Headset
The only way to test VR is to run it on real hardware. I ran it on my Windows Mixed Reality headset and it looks pretty good. The image and positional audio work quite well. I definitely have a feeling of being present. However, the interaction feels very awkward because the staff is attached to my head. Instead, I want to use the staff with my actual 6dof controller. We can do this by moving the staff inside of a new entity with laser-controls.
    <a-entity id='laser' laser-controls="hand: left" raycaster="showLine:false;" line="opacity:0.0;">
        <a-entity rotation="-105 0 0" position="0 0 -3.5" id='weapon' static-body="shape:sphere; sphereRadius: 0.3;">
            <a-entity  scale="1.8 1.8 1.8" position="0 1.5 0">
                <a-entity position="2.3 -2.7 -16.3" gltf-model="#staff" ></a-entity>
            </a-entity>
        </a-entity>
    </a-entity>
The laser-controls will automatically attach its contents to the user’s six degrees of motion controller. These are typically big handsets that come with PC headsets like the Vive, Rift, and MR headsets. The laser-controls component also works with three degrees of freedom controllers like the ones that come with Google Daydream and Gear VR.
This creates a new problem. The game now works with a controller in a traditional VR headset, but it won’t work with a phone anymore. There is no canonical solution to this problem, so I have chosen to enable both behaviors and simply enable and disable the correct one at runtime. To do this we’ll need to change our markup slightly.
Add the laser group to the scene, then change the id=weapon of both staffs to class='weapon', and add an extra class for gaze to the one inside of the camera and dof6 to the one inside of the laser.
Here is the final result.
    <a-entity camera look-controls position="0 1.5 0">
        <a-text id="score" value="Score" position="-0.2 -0.5 -1" color="white" width="5" anchor="left"></a-text>
        <a-entity rotation="-90 0 0" position="0 0 -4" class='weapon gaze' static-body="shape:sphere; sphereRadius: 0.3;">
            <a-entity position="2.3 -2.7 -16.3" gltf-model="#staff" ></a-entity>
        </a-entity>
    </a-entity>

    <a-entity id='laser' laser-controls="hand: left" raycaster="showLine:false;" line="opacity:0.0;">
        <a-entity rotation="-105 0 0" position="0 0 -3.5" class='weapon dof6' static-body="shape:sphere; sphereRadius: 0.3;">
            <a-entity  scale="1.8 1.8 1.8" position="0 1.5 0">
                <a-entity position="2.3 -2.7 -16.3" gltf-model="#staff" ></a-entity>
            </a-entity>
        </a-entity>
    </a-entity>
Let’s add some functions to turn a set of controls on or off. The setEnabled function below sets the visible property of the desired element and also turns physics off of its static body. Then the switch6DOF and switchGaze functions call setEnabled with the right parameters.
    function setEnabled(sel,vis) {
        const elem = $(sel)
        elem.setAttribute('visible', vis)
        if(elem.components['static-body']) {
            const sb = elem.components['static-body'];
            if(vis) {
                sb.play()
            } else {
                sb.pause()
            }
        }
    }

    function switch6DOF() {
        $('#laser').setAttribute('visible',true)
        setEnabled('.weapon.gaze',false)
        setEnabled('.weapon.dof6',true)
    }


    function switchGaze() {
        $('#laser').setAttribute('visible',false)
        setEnabled('.weapon.gaze',true)
        setEnabled('.weapon.dof6',false)
    }
Play Whack-An-Imp
Now we just need to decide when to use which set of components. We could check if the device is a mobile device but that won’t handle the desktop case when the headset isn’t connected. Instead we should look for the ‘enter-vr’ event and then check if a headset is connected. If it is, switch to 6DOF mode, otherwise use gaze mode.
    on($('a-scene'),'enter-vr',()=>{
        if(AFRAME.utils.device.checkHeadsetConnected()) {
            switch6DOF()
        } else {
            switchGaze()
        }
    })
    on($('a-scene'),'exit-vr',switchGaze)

    //always start up in gaze mode
    on($('a-scene'),'loaded',switchGaze)
And with that, Whack-an-Imp will always adapt to the current situation. The player can switch in and out of VR mode seamlessly. This is the hallmark of web applications, applied to a mixed reality experience: responsive design.
And with that, we conclude this project. You can play with the live version on my website and check out the code on GitHub. And remember to submit your own entry to our current WebVR challenge. There are lots of great prizes to be had, and lots of learning as well. Let us know how it goes…
About Josh Marinacci
I am an author, researcher, and recovering engineer. Formerly on the Swing Team at Sun, the webOS team at Palm, and Nokia Research. I spread the word of good user experiences. I live in sunny Eugene Oregon with my wife and genius Lego builder child.