
One of the most popular uses for VR today is 360° images and video. 360° images are easy to discover and share online, and you don’t need to learn any new interactions to explore the 360° experience.
Building 360° views is not as easy as exploring them, especially if you want to make an experience where the viewer can navigate from scene to scene. Here is the solution I came up with using A-Frame, a web framework for building virtual reality experiences and Glitch, a creative community platform for building, remixing and hosting web apps and sites.
I often teach students at my local public library. I have found the combination of A-Frame and Glitch to be ideal, especially for the younger learners. A-Frame lets you write markup that feels like HTML to produce 3D content. You don’t have to write any JS code if you don’t want to. And Glitch is wonderful because I can give my students a sample project that they then ‘remix’ to create their own version. Thinking about it, ‘remix’ is probably a better word for non-programmers than ‘fork’.
This is the project I start them with. The 360 Workshop. If you load it up you’ll see me in my office with a ridiculous grin on my face and a strange sphere on my forehead.
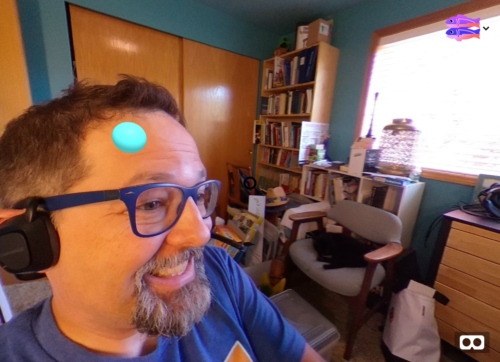
If you click the headset icon in the lower right you can enter VR. If you use the fish icon in the upper right you can create your remix. If you move the gaze cursor to the pale blue sphere you will jump to a new scene.
This is an example of what I call a 360° tour.
360 Tour
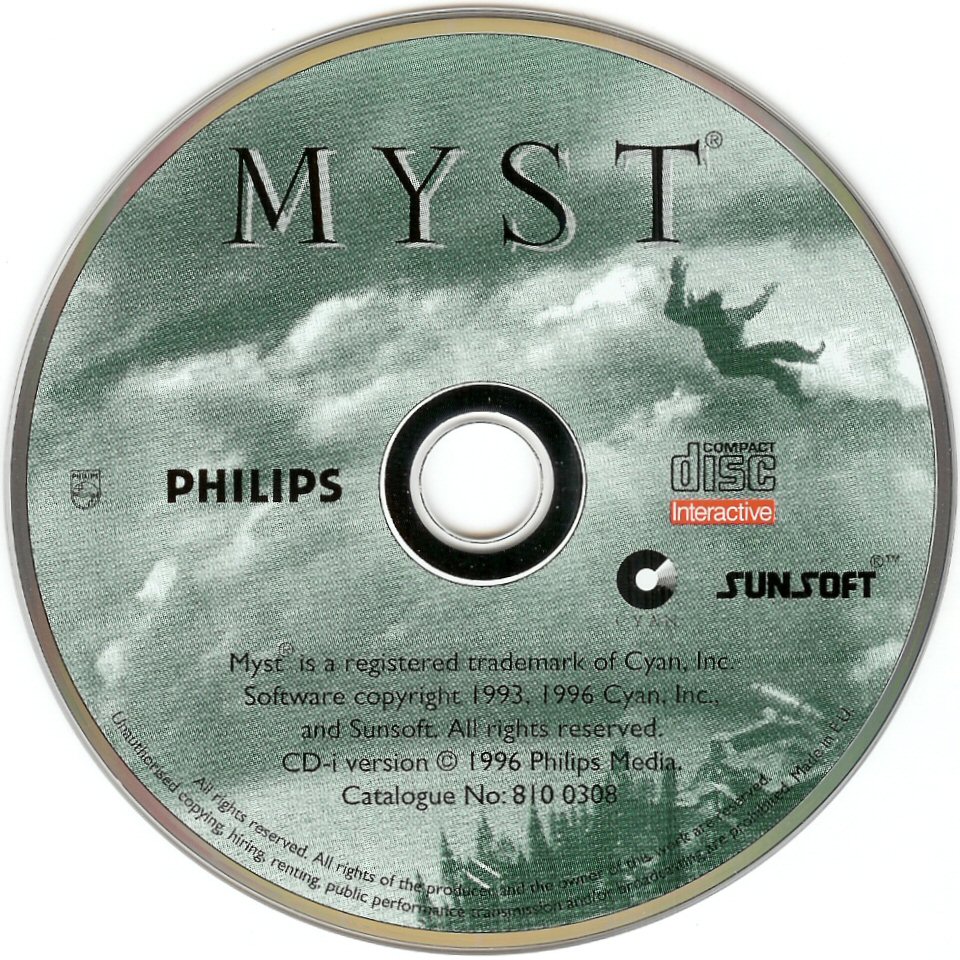
A 360° tour is a web-based experience where you view 3D imagery from a single vantage point. You can rotate around and look up, but you can’t move forward or back. The tour is made up of scenes. To navigate you click on hot spots to jump from scene to scene. You can think of this as the modern equivalent of the old multi-media CD-ROM edutainment apps from the mid-90s.
The Code
The code is pretty simple. It’s stock A-Frame with one custom component. You load your images in the a-assets section. To create a ‘scene’ make an entity with a screen component (I wanted to call it scene instead of screen but it would have been too confusing with the main a-scene component).
Inside the screen entity put an a-sky component for the 360° image, then add spheres, or cubes or whatever else you want for the hotspots. The hotspots should have a to-screen component which names the scene to jump to.
<a-entity screen="shed">
  <a-sky src="#shed" rotation="0 90 0"></a-sky>
  <a-sphere
           color="yellow"
           radius="0.2"
           position="2 0 4"
           to-screen="patio"
           ></a-sphere>
</a-entity>
You can make as many screens as you want, then wrap them all in a single entity with a screen-switch component. Set the screen property to whichever scene you wish to load first.
<a-entity screen-switch="screen:scene3">
        <a-entity screen="scene1">
...
        <a-entity screen="scene2">
...
        <a-entity screen="scene3">
...
</a-entity>
The underlying switcher component is included in the Glitch project. You can look at the switcher.js file, but the code is pretty boring. It just toggles the visibility of each screen.
That’s it. That is all you need for 360° experiences.
How about some of my own images?
Oh, you wanted to use your own images? Ah, well good news. That’s easy too.
You can find free reusable 360° images on the web by searching for equirectangular and creative commons. Here’s a bunch on Flickr.
If you want to make your own, you can get a 360° camera. There are several good brands. I’ve been using the Ricoh Theta V. It can connect to your computer via USB, but you can also control it via the Ricoh mobile app. The app is wonderful for checking the scene and adjusting the tripod before your shoot.
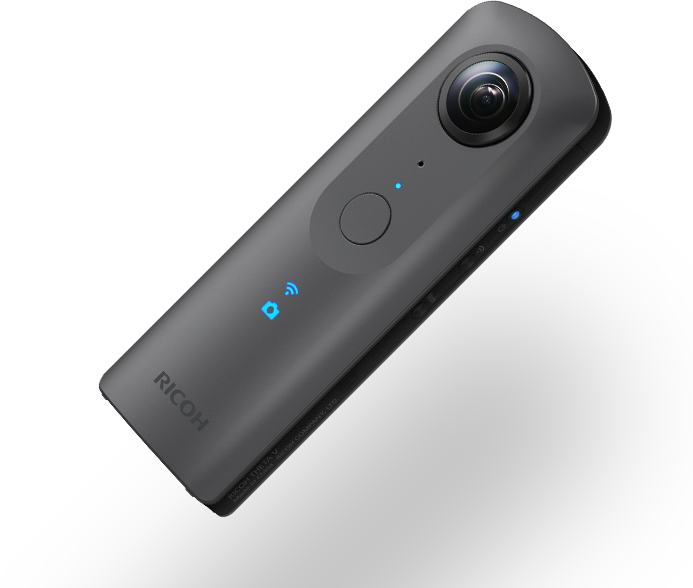
Ricoh Theta V for 360 images and video
The Theta V can shoot both still images and video.
For shooting images I first suggest you get a tripod. The camera essentially has two 180˚ lenses that are stitched with clever software into a single 360˚ equirectangular image. The stitching at the top and sides is quite good, as long as you don’t have anything closer than about two feet from the camera. For most directions this is fine, but since you have to hold the camera with your hands you’ll see this weird mush of thumbs and fingers at the bottom.
If you use a tripod the bottom mush will be almost invisible. Plus tripods are just a good idea in general to get crisp sharp photos. You can use the mobile app to view the scene and snap the shutter once you get out of the camera view (ie, hide behind a door).
Since these images are typically viewed in a headset you should place the camera at roughly head height, or 1 to 1.5 meters. On the other hand, if you want a fun ‘miniaturized’ effect put the camera on the floor (or a tiny tripod) and place LEGO buildings around it.
What about Video?
Ah yes. Video. The Theta V can do video, at surprisingly high resolution. Technically you can even stream the video over WiFi but the resolution is lower. If you really need to stream you’ll want to use a USB cable and do the encoding on a laptop.
For non-streaming video you can just upload the MP4 files to your web-server and include the resource in the 360° tour with a video tag. Then just add the video to a scene with the <a-videosphere> element. It will work.
However….
360° video files are big. Really big. Like a gigabyte per minute big. So while it’s possible to just upload mp4 files to a web-server, anyone who wants to view your experience is going to be in for a long and possibly expensive download. To do 360° video right you’ll need to use a service that specializes in streaming video, like Wowza or Vimeo. They can progressively stream the video and adjust the bitrate dynamically. If you do go with Vimeo check out this github project for how to do it.
360° It!
I hope you’ve enjoyed this introductory tour of what we can do with 360° images. You can build your own by remixing this Glitch. I have added a few creative commons images to my assets repo; these images are licensed for you to reuse and remix. When you want to go beyond spheres you can read the full A-Frame documentation, which explains how to use other geometry, add text, and build your own components.
If you want to learn more about how to make VR and AR on the web I stream periodically on Twitch and post lots of links to Twitter. Enjoy.
About Josh Marinacci
I am an author, researcher, and recovering engineer. Formerly on the Swing Team at Sun, the webOS team at Palm, and Nokia Research. I spread the word of good user experiences. I live in sunny Eugene Oregon with my wife and genius Lego builder child.
3 comments