
WebVR holds the key to the future of VR content access – instant gratification without any downloads or installs. Or, at least we think so! We’re building a multi-platform digital game subscription service called Jump that delivers native web games to desktop, mobile, console, and VR devices, and we’ve bet our entire business on native web technologies – HTML5, WebGL, JS, and soon WebAssembly. We set out to demonstrate how powerful the web will be for virtual reality, by building an Oculus Rift WebVR game for Jump. We built SECVRITY in a month. With such a short window, we didn’t have time to dive into the WebVR API to build it natively on the web. So, we built the game in our engine of choice – Unity 5.
![]()
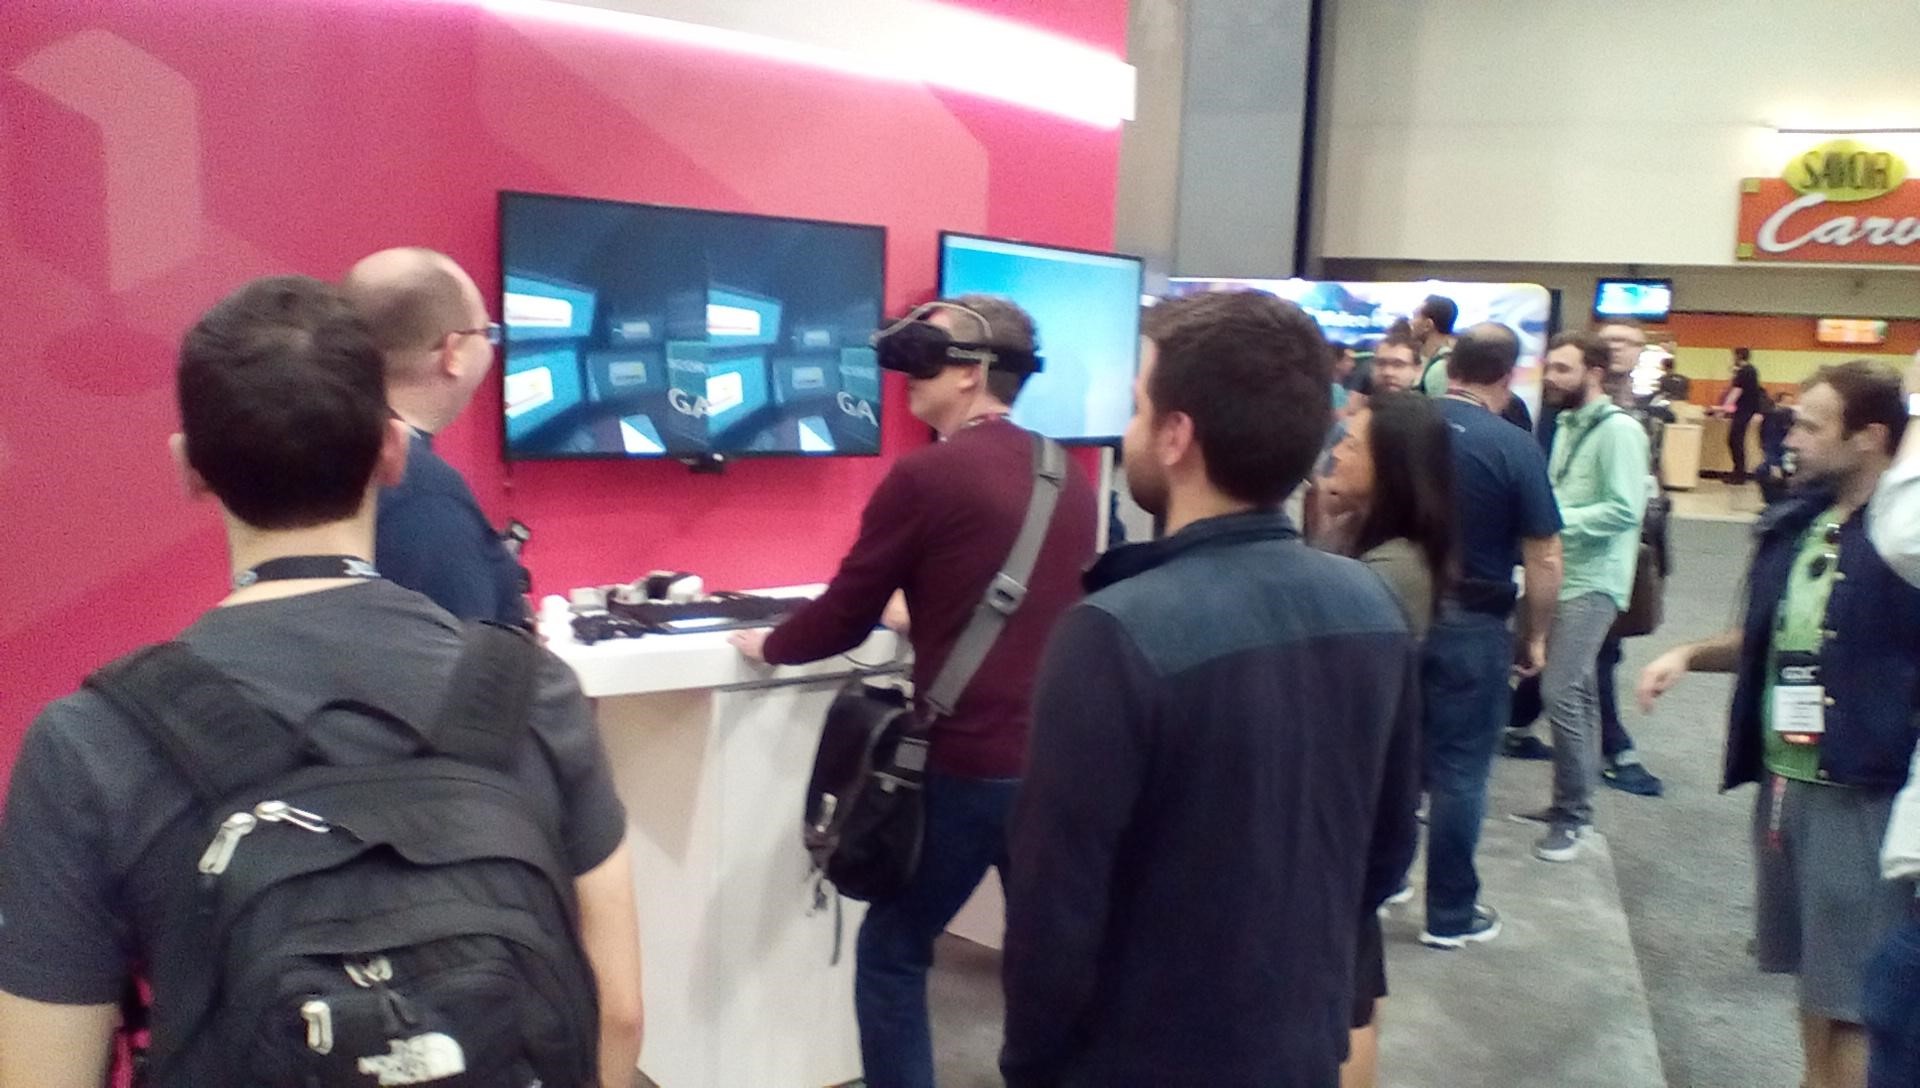
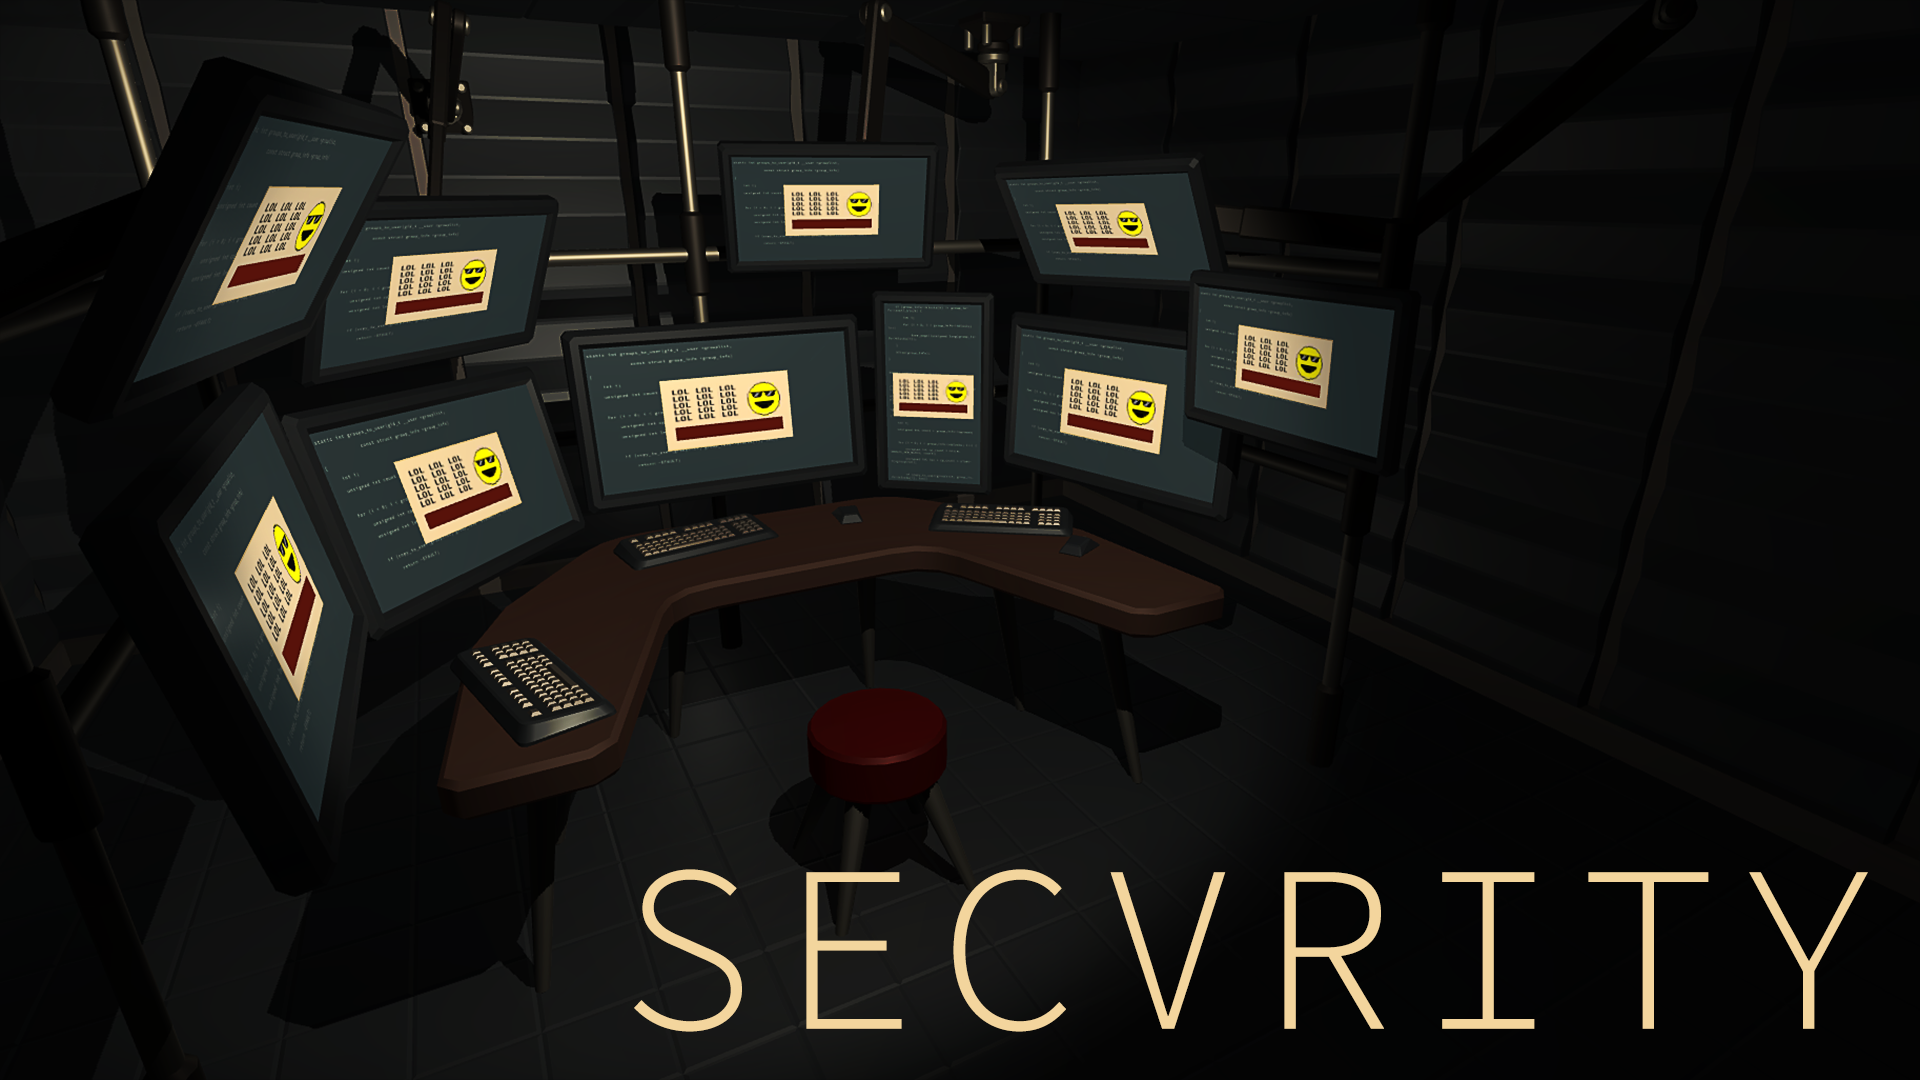
SECVRITY is probably best described as “Whac-A-Mole for viruses”. You play as a computer security specialist trying to thwart a barrage of incoming viruses on your panoramic monitor setup. To disable viruses, you have to – you guessed it – look at the screen currently being attacked and click on it. While the potential for whiplash is fairly high, the potential for fun ended up being even higher, as evidenced by the barrage of people playing it in Mozilla’s Booth at GDC!
Back to the technology though – Unity supports both WebGL and VR, but we quickly discovered that they were mutually exclusive and Unity did not have WebVR on their immediate roadmap. We started searching for ways to bridge this gap. Since Unity’s WebGL export spit the game out in website form, there had to be a way to connect the WebVR API to our Unity game to pipe the WebVR input into the engine. We were really hoping to not have to try and write it in that one-month window.
Luckily, one brave soul who goes by gtk2k on GitHub decided to build this bridge for everyone, almost a full year ago. His method is straightforward: he built a Unity WebGL template which includes JS files to handle WebVR input via the API, then he piped that code into Unity through one simple script. To implement the script properly in Unity, he created a camera prefab that houses 3 different cameras – a standard view camera, which is a normal Unity camera; and two stereo cameras that display side-by-side with slightly adjusted x-positions and viewport rects. The developer simply has to replace the main camera in their scene with this prefab, attach StereoCamera.cs to it, and watch the magic work. gtk2k’s bridge very cleverly makes the switch from standard camera to stereo cameras when the user hits the “Enter VR” button in the customized WebVR Unity template.
Download a Sample Unity WebVR Project or grab the UnityPackage to import the necessary files into your own project.
To try out the template yourself, here’s what you’ll need to do:
- Get your hands on an Oculus Rift. Ensure that you enable running apps from external sources.
- Download and install Firefox Nightly.
- Install the WebVR enabler.
- Grab either the entire sample project or just the
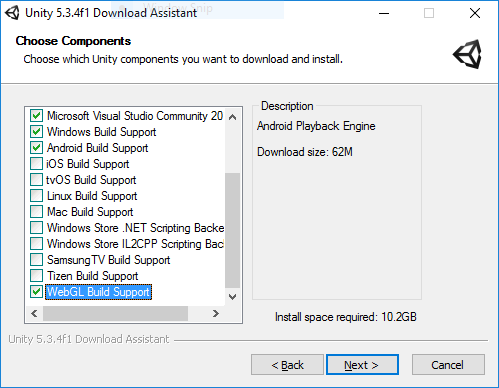
UnityPackageabove. - Install Unity 5 and be sure to enable both “WebGL Build Support” and “Windows Build Support” when prompted to select export tools.
- Open Unity (either the sample project or your own project with the
UnityPackageadded) and replace yourMainCamerawith theWebVRCameraSetprefab.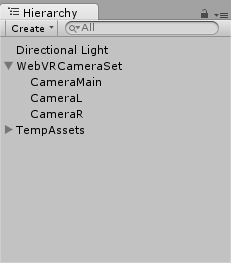
- Make sure
StereoCamera.csis attached to the parent node of the prefab.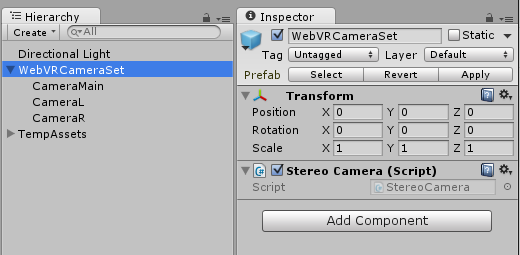
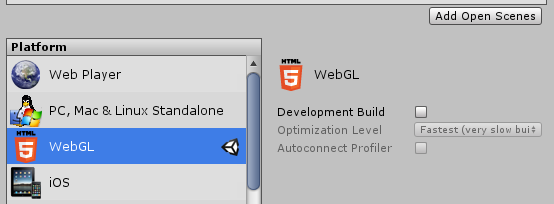
- From File > Build Settings, select WebGL as the platform (but leave Development Build unchecked).
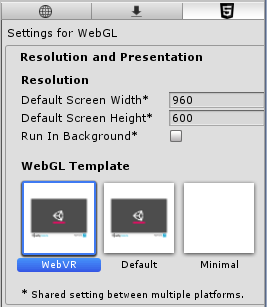
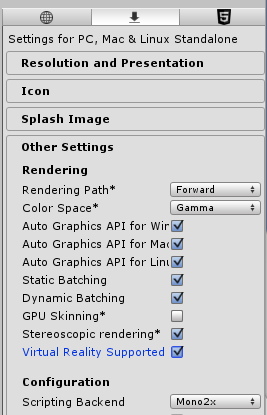
- Open Edit > Project Settings > Player to access the Player settings; under Resolution and Presentation, select WebVR as your WebGL Template.
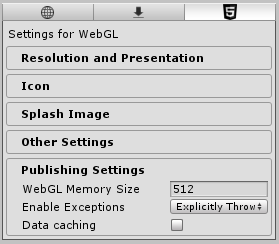
- In the same project settings, under the Publishing Settings section, ensure your WebGL Memory Size is set to a minimum of 512 MB to avoid out-of-memory errors. (For SECVRITY, we set it to 768 MB.)
- Build to WebGL, and give it a shot in Firefox Nightly!
- You can test local builds or upload the build to your favorite web host.
Hopefully that will get you up and running with your first Unity WebVR build! To test in the editor, you’ll need to enable the standard features for desktop VR builds. Go back to Edit > Project Settings > Player, select the Standalone tab (indicated by down arrow icon) above the Resolution and Presentation section, navigate to Other Settings, and check the boxes for both Stereoscopic Rendering and Virtual Reality Supported. These aren’t necessary for the WebVR build itself, but you’ll need them to test in the editor.
To supplement the template from a design perspective, we added explicit instructions to properly get the user into VR mode in their browser window. We also decided to give the user a choice whether to play in VR or with a mouse. This is where things got tricky.
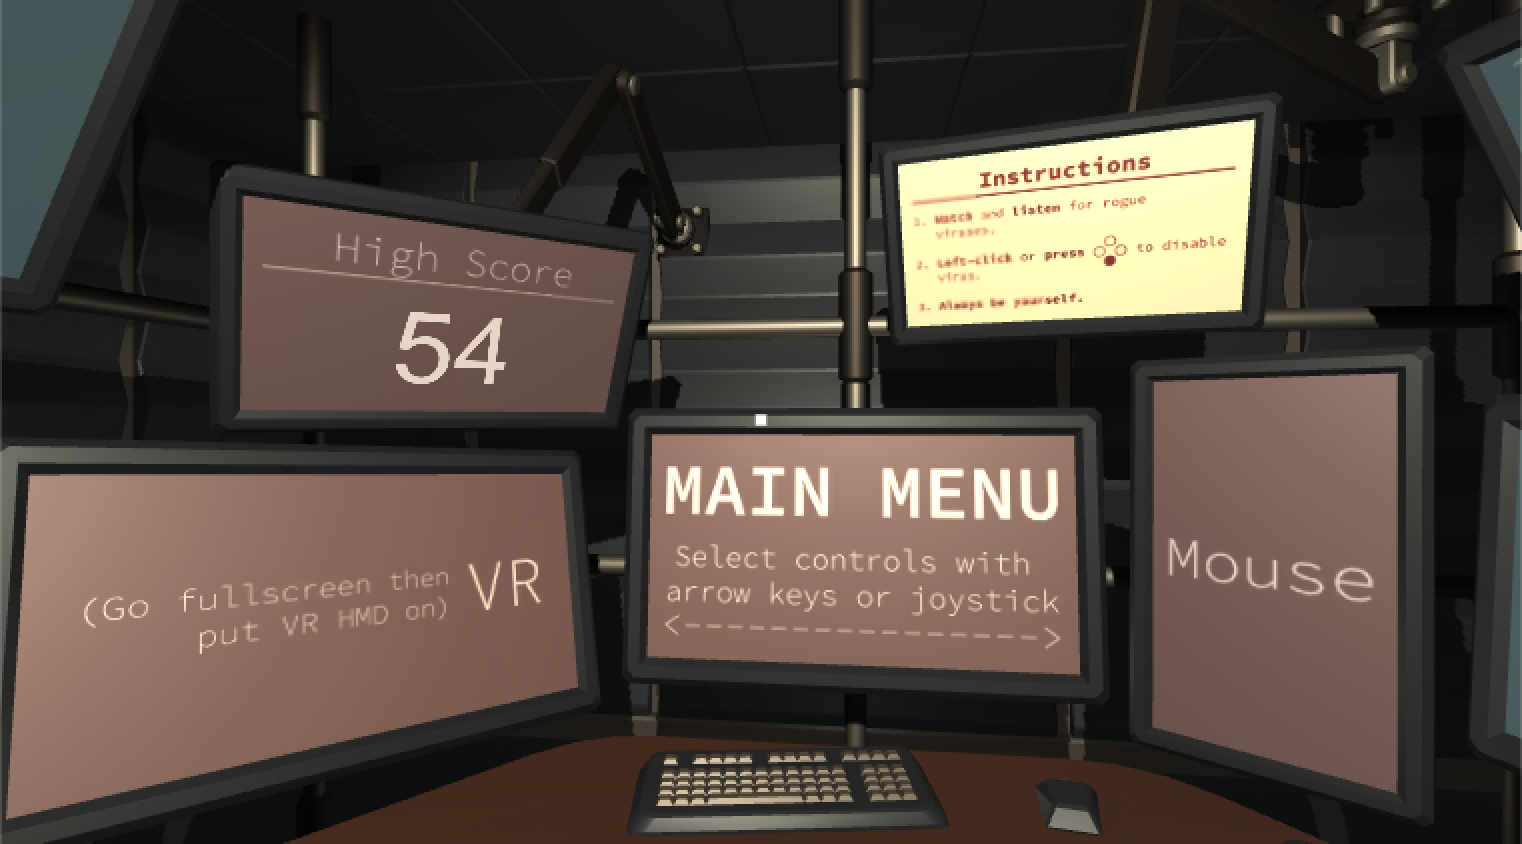
We wanted non-VR users on desktop to be able to play SECVRITY since, well, it’s in a browser! We supported mouse controls before we supported VR, so mouse control in itself was simple. However, mouse control while VR input was being detected caused some incredibly wonky results. Essentially, the mouse movement would throw off the viewport of the VR headset, causing the user to: A. get completely lost, and B. get super sick. We had to detect whether or not the user was in VR and then disable mouse control to solve this.
Our solution is to completely disable mouse control, whether the player is using VR input or not, until they explicitly select “mouse” control from the main menu. The user must now select their input method of choice via arrow keys or controller joystick before playing. (Quick aside: WebGL/WebVR supports the Gamepad API, so integrating a controller took 0 extra work beyond what you’d do for a standalone build.) If the user chooses “mouse” while in a VR headset, then the sickness-inducing issues begin. Caveat player: we built this game in one month! Auto-detection will resolve this in future iterations.
We learned some valuable lessons in building for WebVR via Unity, mainly in designing for hybrid VR/non-VR experiences. A lot of our troubles should be solved in an official WebVR export from the engine. But even when that comes, it’s still important to understand what your user may or may not do to break your game, especially when the control inputs are so drastically different. We had to make a few tweaks to gtk2k’s code for the enter VR flows to work with recent changes to Firefox Nightly, but his codebase largely worked as advertised with very little effort on our end. That man is our hero.
The web is the future of gaming, and Jump, armed with games like SECVRITY, will prove it to the world. Web gaming provides almost instant access to games on desktop, mobile, console, VR headsets, and other devices, with no permanent downloads or installs required for users. The web can already deliver near-native speeds and, with WebGL 2.0 and WebAssembly on the horizon, we’ll start seeing near-current-generation graphics as well. Jump hopes to help drive the web revolution forward and make the web the ultimate home for games on all devices. If you want to follow Jump’s progress, you can sign up for our newsletter and for a beta key at www.jump.game. And if you want to play SECVRITY right now, you can find it at as a demo on mozvr.com! Take it from us: the web will revolutionize the gaming industry. And WebVR will play an important role in showcasing the web’s power to both developers and users by providing instant access to beautiful virtual reality right from a browser.
About Anthony Palma
Anthony Palma is the CEO of Jump, the multiplatform digital game subscription service launching in 2016. If you want beta access or have a game you want to put on the service, ping me!
One comment