
The mozjpeg project recently released version 2.1. It aims to improve the efficiency of JPEG encoding over existing encoders while maintaining compatibility with the vast majority of existing decoders.
I’d like to explain how you can use this software to reduce the size of your JPEGs. Specifically, I’m going to go over usage of mozjpeg’s cjpeg command line utility.
Building mozjpeg
There are no official mozjpeg binaries available, so you’ll have to build the project from source. Do this by downloading the source code for the latest release and following the instructions in the file BUILDING.txt.
Building on Linux and OS X is quite easy. Things are a little more complicated on Windows, but it’s still relatively easy. The mozjpeg project is considering providing binary releases in the future.
When you build mozjpeg you’ll produce a command line tool called cjpeg. This is the encoding program that comes with mozjpeg. The decoder is called djpeg.
Input Image Formats
The cjpeg tool is capable of handling the following input file types: targa, bmp, ppm, and jpg.
The ability to take JPEG files as input is a new feature in mozjpeg which doesn’t yet exists in the cjpeg tools provided by other projects. It was added to make re-compression workflows easier. Instead of converting JPEGs to BMP or something else and then re-encoding them, you can just pass the JPEG directly to the cjpeg encoder.
If you want to create a JPEG from a file type not supported by cjpeg, take a look at the ImageMagick tools. They include a command-line utility called convert that can convert back and forth from many types of images.
Basic Usage of the cjpeg Command Line Tool
Most people who use mozjpeg’s cjpeg use it in its simplest form:
$ cjpeg -quality 80 foo.bmp > bar.jpg
This will create a JPEG called “bar.jpg” from the “foo.bmp” input file at quality level 80. cjpeg directly emits the contents of the resulting JPEG file, so if you want to write it to disk, which you probably do, you’ll need to pipe the results to a file with ‘>‘.
Selecting a Quality Level
Quality can range from 0 at the low end to 100 at the high end. Most people will want to pick quality a value somewhere between 60 and 90. You’ll want to use the lowest value that still produces and image at a quality you’re happy with, because lower values will produce images with smaller file sizes.
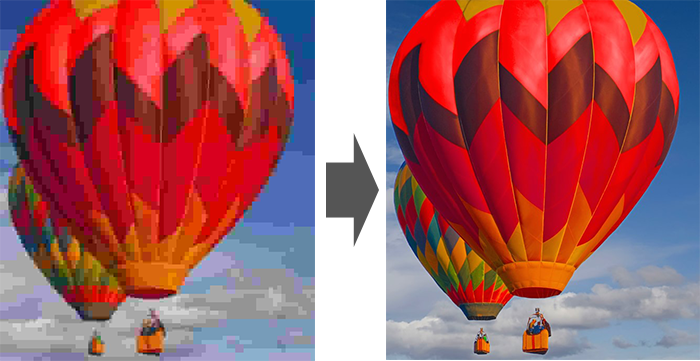
The following image shows an original image as well as the same image encoded at five different quality levels with mozjpeg’s cjpeg. Click on it to enlarge.

Here are the image files one-by-one:
- Original image (Uncompressed)
- quality 90 (70KB)
- quality 80 (45KB)
- quality 70 (37KB)
- quality 60 (29KB)
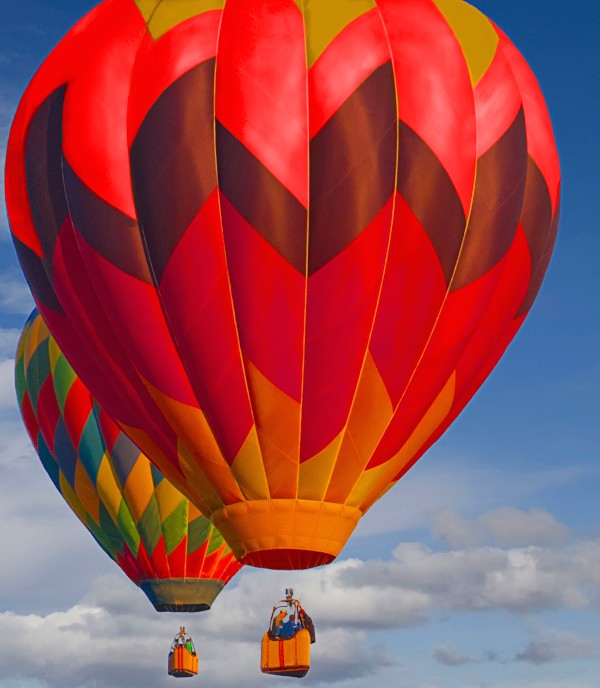
(Image courtesy of Soulmatesphotography, via Wikimedia, Creative Commons Attribution-Share Alike 3.0 Unported License)
Do some experimenting here. Lots of people don’t, and they miss out on significant reductions in file size. Their thinking is often something along the lines of “80 seems like a good compromise, and I hear that’s what most people do, so I’ll do that.” If you can’t tell the difference between an image at quality 77 vs 80, and you’re using 80, you’re missing out on significant file size savings at no cost to you in terms of quality.
Progressive vs. Baseline JPEGs
The mozjpeg version of cjpeg produces progressive JPEGs by default because their file sizes tend to be about 4% smaller than baseline JPEGs. Progressive JPEGs can appear at full size but blurry at first, and then progress to full resolution as the image downloads. Baseline JPEGs simply load from top to bottom.
Baseline:
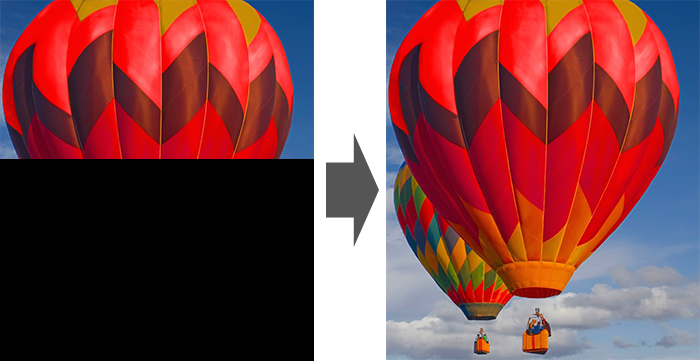
Progressive:
(Image courtesy of Soulmatesphotography, via Wikimedia, Creative Commons Attribution-Share Alike 3.0 Unported License)
If you want to produce a baseline JPEG, you can do so like this:
$ cjpeg -baseline -quality 80 foo.bmp > bar.jpg
Targeting Metrics
A cool feature of mozjpeg’s cjpeg is that you can optimize for any of four specific quality metrics: PSNR, PSNR-HVS-M, SSIM, and MS-SSIM. These metrics are algorithms that calculate the quality of an image compared to the original. More scientifically, this is often referred to as a distortion rate.
These algorithms differ in how they define quality, so optimizing for one metric can hurt performance on another. See the July 2014 lossy compressed images study from Mozilla for many example of what this looks like.
mozjpeg tunes for PSNR-HVS-M by default, because tuning for this does pretty well on all metrics.
If you or your organization have decided that you trust a particular metric more than the others, you can tell mozjpeg’s cjpeg tool about your preference and it will tune for that metric.
Conclusion
Hopefully at this point you know enough to confidently start making use of mozjpeg to optimize your JPEGs. If you run into any issues, please report them on mozjpeg’s github issue tracker.
About Robert Nyman [Editor emeritus]
Technical Evangelist & Editor of Mozilla Hacks. Gives talks & blogs about HTML5, JavaScript & the Open Web. Robert is a strong believer in HTML5 and the Open Web and has been working since 1999 with Front End development for the web - in Sweden and in New York City. He regularly also blogs at http://robertnyman.com and loves to travel and meet people.
More articles by Robert Nyman [Editor emeritus]…
27 comments