
The first time I wanted to participate on Dev Derby was on the May 2012 challenge, where the rules were that you should use websockets. At that time I thought that I could use NodeJS and SocketIO. But the time kept running and I ended not having any cool ideas for an app.
Since then I have been just watching the monthly challenges, until the December 2012 one: offline apps!
Once again I got very excited to do something for Dev Derby, specially because I think the App Cache and Local Storage APIs are just amazing and the main APIs to use when thinking of offline apps.
Anyway, after passing 30 minutes wondering how amazing offline apps can be I decided it was time to think of something for the challenge.
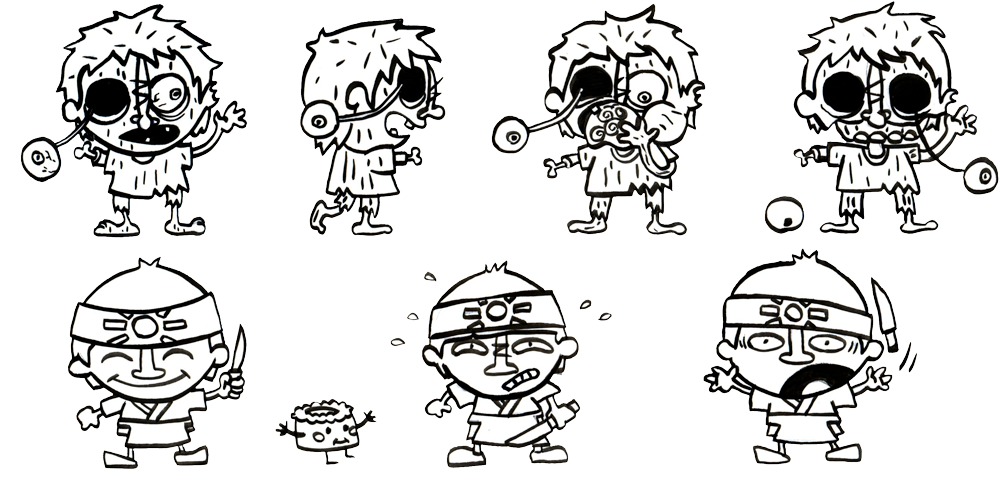
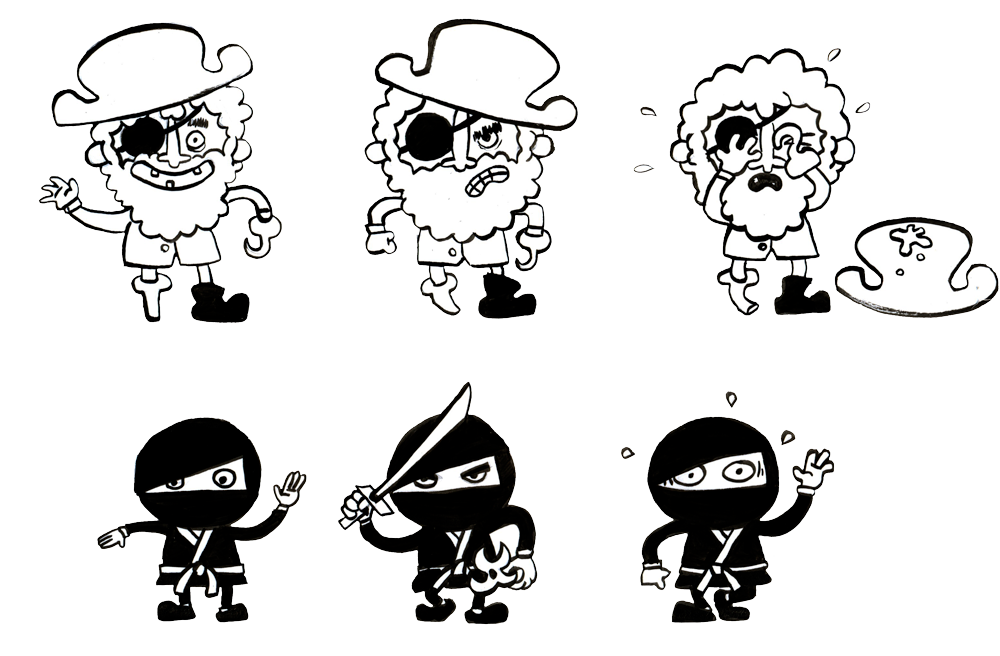
As a husband and professional its hard to find the time I wanted to build cool stuff for this kind of challenge. So I wondered if I could reuse a demo I had already built a couple months ago, and add the necessary things to make it available offline. Looking at the demos I had done, the one that better suits to the challenge was a comic generator, which I very creatively called Comic Gen.

Comic Gen (source code) is capable of adding and manipulating characters on a screen, and it gives you a chance to export the results to a PNG file.
Ragaboom Framework
Canvas was the first HTML5 API that comes to my attention. It is very cool to have the ability to draw anything, import images, write texts and interact with them all. The possibilities seem to be limitless.
I started to make my first experiments with Canvas and it didn’t took me too long to realize I could build a framework to ease things. That was when I created the Ragaboom framework.
At that time it was the most advanced code I had ever written with JavaScript. Looking at it today I realize how complex and hard to use it is, and how much I could improve it… Well, that’s something I still plan to do, but the responsibilities and priorities prevent me to do so right now.
So, I had to test Ragaboom somehow. Then I created a simple game called CATcher. The objective of the game is to catch the falling kitties with a basket until the time runs out. The player earns 15 more seconds for every 100 points.
My wife helped me with the drawings and she said she loved the game. Yeah, right… She also says I’m handsome…
CATcher and Ragaboom were two big accomplishments for me. I submitted the game to be published in some HTML5 demo websites and surprisingly a lot of people contacted me to talk about JavaScript advanced programming and HTML5. What I loved most was that some people had very good ideas for improve the framework!
Why a comic generator
After I had built Ragaboom, I started to think of a new challenge where I could use Canvas and for improve the framework. At that time there was (and there still is) too many discussion about the future of HTML5, and people started to argue about if it was possible to HTML5 to replace Flash.
That was the kind of challenge I was looking for: to try to reproduce something with Canvas that already existed with Flash. I had seen a couple comic generators using Flash. Some of them that were very simple, and some that were very well built.
At that moment I decided what I wanted to do. I needed someone to draw the characters for me. Then, my friend Ana Zugaib, a very talented artist made them for me! Her work was simply wonderful!
Planning the demo
Ok, I had a subject, I had a reason, now I needed to plan what it should be created. There’s not much to think about when building a comic generator. All I needed was a toolbox and a screen where the characters should be placed.
I wanted the user to be able to choose different screen sizes and that they should have the option to export their work to an image or something like that.
The objects in the screen should be allowed to be manipulated, moved, resized, inverted and removed from the screen. At the moment something came into my mind: How the hell am I gonna do all that????
How the hell to do all that
Oh well, if I wanted challenge, I had got a challenge. Luckily, some of the features I needed were already implemented on Ragaboom framework, or were already presented on the DOM API.
So I had to focus on the stuff they didn’t offer me:
- How to invert the images horizontally;
- How to resize the screen without losing the current content;
- How to export the content to a PNG file;
Initializing the objects
First of all, I needed to create a Canvas object and its context, and create a big white rectangle on it. That would be my comic screen.
var c = $('#c')[0];
var ctx = c.getContext('2d');
var scene = new RB.Scene(c);
var w = c.width;
var h = c.height;
...
scene.add( scene.rect(w, h, 'white') );
scene.update();
The scene.add method (from my framework) adds a new object to the screen, as you can see above, where a white rectangle was added to the screen. Next the screen is updated to show all drawn objects so far. Internally, the framework creates an array within the objects that should be drawn to the screen, storing their properties like x and y positions and their type (rectangle, circle, image, etc).
The scene.update method iterates over that array, repainting every object in the Canvas area.
For the toolbar I had created two arrays. The first kept the URL for each image of the toolbar, and the second stored the URL for the actual image that should be placed on the screen. The elements of toolbar image array corresponded to actual images array. So the pirate icon from the first array was in the same position as the actual pirate image from the second array, and so on.
I then had to iterate the arrays to build buttons linking each of them to the corresponding image. After that the result of the iteration was appended to a DOM element.
//toolbar icons array
var miniUrls = ["sm01_mini.png", "sm02_mini.png", "sm03_mini.png", "sushi_mini.png", "z01_mini.png", "z02_mini.png", "z03_mini.png", "z04_mini.png", "balao.png", "toon01_mini.png", "toon02_mini.png", "toon03_mini.png", "toon04_mini.png", "toon05_mini.png", "toon06_mini.png"];

//actual images array
var toonUrls = ["sm01.png", "sm02.png", "sm03.png", "sushi.png", "z01.png", "z02.png", "z03.png", "z04.png", "balao.png", "toon01.png", "toon02.png", "toon03.png", "toon04.png", "toon05.png", "toon06.png"];

//building the toolbar
cg.buildMinis = function() {
    var buffer = '';
    var imgString = "<img src='toons/IMG_URL' class='rc mini'></img>";
    var link = "<a href="javascript:cg.createImage('toons/IMG_URL')">";

    for(var i=0; i < miniUrls.length; i++) {
        buffer += link.replace(/IMG_URL/, toonUrls[i]);
        buffer += imgString.replace(/IMG_URL/, miniUrls[i]) + '</a>';
    }

    lib.append(buffer);

    $('#menuContainer').append( $('#instructs').clone() );
}
Adding objects to the screen
When you are loading an image via JavaScript it is important to keep in mind that the browser will download the image asynchronously. That means that you cannot be sure that the image will be loaded and ready for use yet.
To solve this, one of the techniques is using the onload method from the Image object:
var img = new Image();
img.onload = function() {
    alert('the image download was completed!');
};
img.src = "my_image.png";
Ragaboom framework uses this same trick. That’s why the image method second parameter is a callback function which will be fired when the image is ready for use.
cg.createImage = function(url) {
    scene.image(url, function(obj) {
        obj.draggable = true;
        obj.setXY(30, 30);

        obj.onmousedown = function(e) {
            currentObj = obj;
            scene.zIndex(obj, 1);
            scene.update();
        }

        scene.add(obj);
        currentObj = obj;
        scene.update();
        pop.play();
    });
}
On the example above the image is stored on the objects array, converted to draggable and positioned at coordinates x=30, y=30. Then a mousedown event is attached to the object setting it to the current object. At the end, the canvas is updated.
Zooming
To increase the size of objects I simply added a small portion of pixels on both the width and the height of the object. The same was done when trying to decrease the size of objects by subtracting a portion of pixels. I only had to handle situations where width and height were lower than zero to prevent bugs.
In order to offer a smooth and uniform zooming I decided to apply a 5% of the current width and height instead of using a fixed number of pixels.
var w = obj.w * 0.05;
var h = obj.h * 0.05;
The complete “zoom in” function is like this:
cg.zoomIn = function(obj) {
    var w = obj.w * 0.05;
    var h = obj.h * 0.05;

    obj.w += w;
    obj.h += h;

    obj.x -= (w/2);
    obj.y -= (h/2);

    scene.update();
}
Exporting a PNG file
The Canvas object has a method called toDataURL, which returns a URL representation of the canvas as an image, according to the format specified as a parameter. Using this method, I created a variable that stored the image URL representation and opened a new browser window.
Then I created an Image object, setting the src attribute with the value of the URL and appended it to the new window’s document.
The user has to right click the image and “Save as” it themselves. I know it’s not the best solution, but it was what I could come up with, then.
var data = c.toDataURL('png');
var win = window.open();
var b = win.document.body;
var img = new Image();
img.src = data;
b.appendChild(img);

Rescaling the screen
For screen resizing, there wasn’t any inconvenience, really. After all, the Canvas object has the width and height attributes. So everything I have to do is set these values and the screen will be rescaled, right? You wish… When you set either the width or height attributes from a canvas object, its context gets lost somehow.
To fix that problem I had to update every single object of the context after rescaling the canvas object. At that moment I realized the advantages of using a framework. Because it kept information of every object and their attributes, and it did all dirty work of redrawing every image back to the canvas context.
c.width = w;
c.height = h;
scene.update(); // thanks, confusing framework
Final considerations
I have always liked the front end side of programming. It took me a long time to realize and accept that, for some reason. I found that JavaScript is as a very powerful language capable of innumerable awesome stuff.
A couple years ago I thought I could never build such things as I have done nowadays. And gladly I was wrong!
If you love to code, dedicate some time at learning new things. The web is on your side. I mean, look at MDN! You have just anything you need to become an excellent developer.
What are you waiting for to become a great dev?
About Willian Carvalho
I am a passionate developer, husband, left hand guitar player. I've been around for the last 33 years (or so) smiling and laughing as much as I can. I'm a big fan of the open web and crazy about Javascript development. I like to create new things, APIs, frameworks and everything associated to JS that can be useful and fun to use!
2 comments